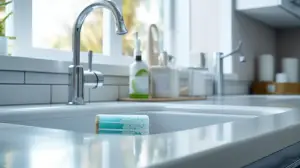
1. Gather Your Arsenal: Materials and Tools for Mold Removal
Before embarking on your mold removal mission, it’s essential to gather all the necessary materials and tools. This way, you’ll be well-equipped to tackle those pesky black spots on your bathroom ceiling. Here’s a list of items you’ll need:
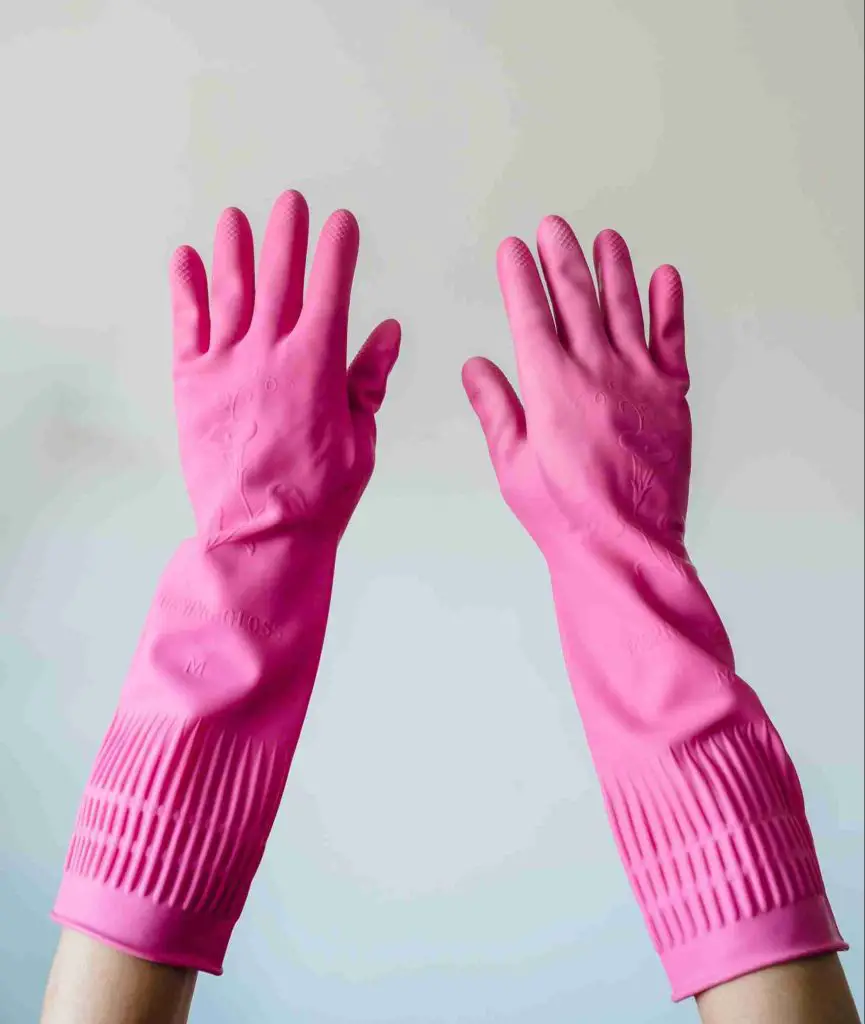
Safety First: Gear Up!
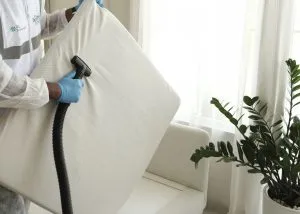
To protect yourself from mold spores and cleaning solutions, make sure to have safety gear on hand, including gloves, goggles, and an N95 mask (or higher).
 | ROYAKI Chemical Resistant Latex Gloves | CHECK PRICE |
 | TITANflex Thor Grip Heavy Duty Industrial Orange Nitrile Gloves | CHECK PRICE |
 | Supermore Anti-Fog Protective Safety Goggles | CHECK PRICE |
 | HUHETA KN95 Masks | CHECK PRICE |
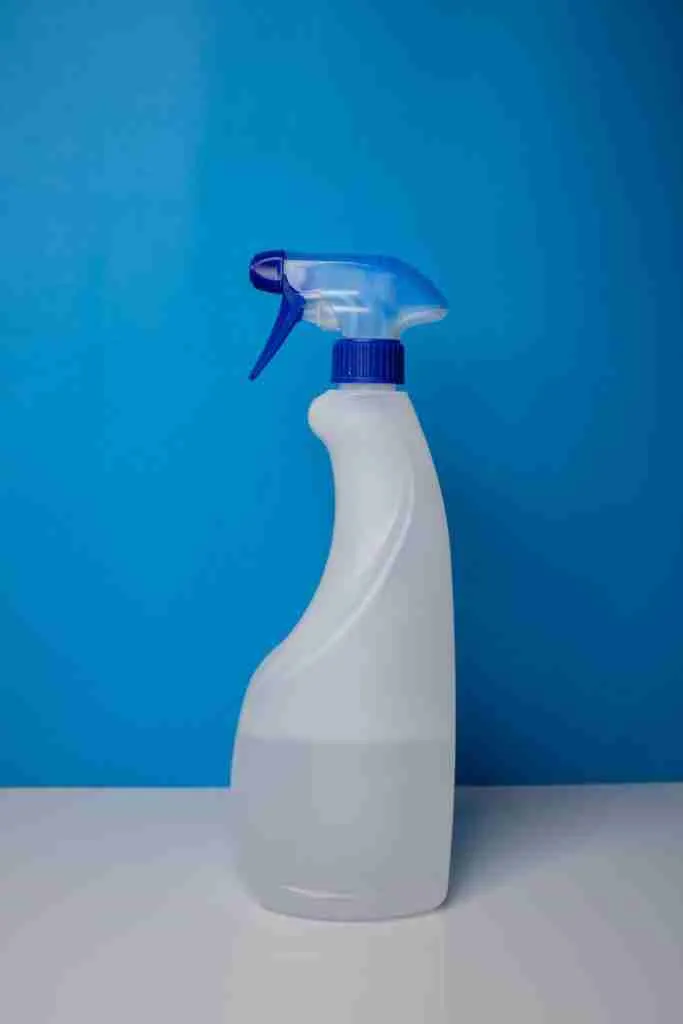
Mix Your Cleaning Solution
Choose your preferred cleaning solution, either bleach or vinegar and mix it with water. You’ll need a spray bottle to apply the solution to the affected area.
Scrub-a-Dub-Dub: The Right Tools for the Job
Select a stiff bristle brush or sponge to efficiently scrub away mold spots on your bathroom ceiling.
 | Amazer Scrub Brush | CHECK PRICE |
 | ITTAR Mutil-Purpose Scrub Brush with 3-Section Extendable Long Handle | CHECK PRICE |
 | MR.SIGA Non-Scratch Cellulose Scrub Sponge | CHECK PRICE |
 | SCRUBIT Natural Scrub Sponge | CHECK PRICE |
Elevate Your Reach: Ladder or Step Stool
Ensure you have a sturdy ladder or step stool to safely reach the moldy area.
 | ALPURLAD Step Ladder Extra Large Passed 800LBS US Test | CHECK PRICE |
 | HBTower 2 Step Ladder | CHECK PRICE |
 | TOOLF 3 Step Ladder | CHECK PRICE |
 | BEETRO 10.5 ft Aluminum Telescoping Ladder | CHECK PRICE |
Rinse and Repeat: Bucket or Container for Rinsing
A bucket or container filled with water will be essential for rinsing your scrubbing tool throughout the cleaning process.
Protect Your Floors (Optional): Plastic Sheets and Painter’s Tape
If you’re concerned about protecting your bathroom floor from drips and spills, you can lay down plastic sheets and secure them with painter’s tape.
 | Blaustein 10x Plastic Sheeting Drop Cloth | CHECK PRICE |
 | Scotch Original Multi-Surface Painter's Tape | CHECK PRICE |
Dry and Absorb: Towels or Rags
Have towels or rags on hand to dry the area thoroughly after rinsing, ensuring no moisture is left behind.
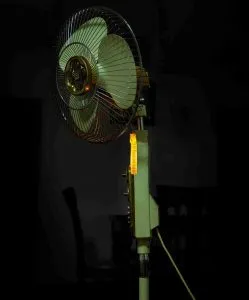
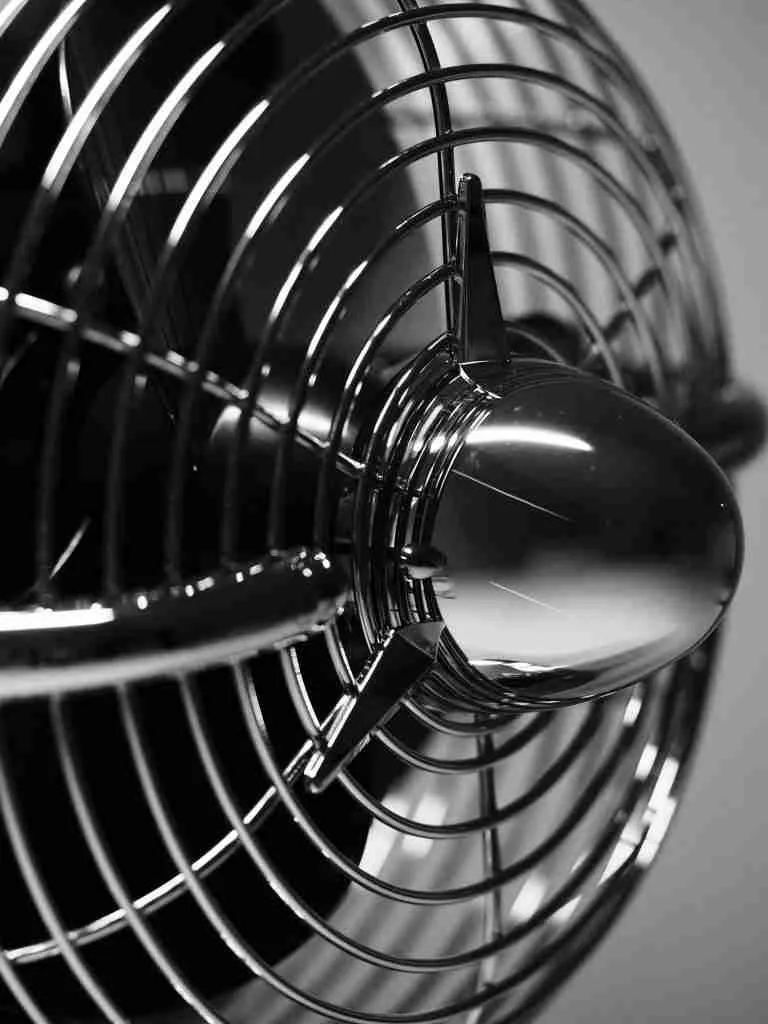
Air It Out: Fan or Dehumidifier
Finally, to promote proper drying and ventilation in the bathroom, have a fan or dehumidifier ready to go. This will help circulate air and prevent mold growth in the future.
With all your materials and tools prepared, you’re now set to conquer the mold lurking on your bathroom ceiling. Remember, safety and preparation are key to a successful mold removal project. Happy cleaning!
 | Dehumidifiers for Home Up to 700 Sq.ft, Aiusevo 88oz | CHECK PRICE |
 | Tredy Air Circulator Fan | CHECK PRICE |
2. Set Up the Workspace
Clear the Bathroom of Damagable Objects
Before diving into the mold removal process, clear the bathroom of any objects that could be damaged by the cleaning solution. This includes toiletries, towels, rugs, and other bathroom essentials. By doing so, you’ll create a safe workspace and protect your belongings from any potential harm.
Ventilate the Space
Proper ventilation is essential when working with cleaning solutions. Open windows and/or turn on the exhaust fan to ensure good air circulation, which will help disperse fumes and promote faster drying.
Lay Down Plastic Sheets (Optional)
If you’re concerned about protecting your bathroom floor or fixtures from cleaning solution splashes, consider laying down plastic sheets. Secure them in place with painter’s tape to prevent any slippage while you work.
Position the Ladder or Step Stool
Place your ladder or step stool beneath the affected area, ensuring it’s stable and secure. This will provide you with safe and comfortable access to the mold on your bathroom ceiling. Double-check that your ladder or step stool can support your weight and is properly positioned to avoid any accidents.
3. Create the Cleaning Solution
Craft Your Bleach Solution
For a potent mold-fighting solution, bleach is a popular choice. To create an effective bleach solution, mix one-part bleach with four parts water. Remember that bleach is a powerful chemical, so be cautious when handling it. Avoid contact with your skin and eyes, and always work in a well-ventilated area to prevent inhalation of fumes.
Whip Up a Vinegar Solution
If you prefer a more natural cleaning solution, vinegar is a great alternative. To make a vinegar solution, simply mix equal parts of vinegar and water. Vinegar’s acidity effectively breaks down mold, making it a safe and eco-friendly choice for mold removal.
Fill Your Spray Bottle
Once you’ve decided on your preferred cleaning solution, pour it into a spray bottle. This will allow for easy and targeted application of the solution to the moldy areas on your bathroom ceiling. Having the solution in a spray bottle ensures that you can control the amount of liquid applied, reducing the risk of damaging your ceiling with excess moisture.
4. Apply the Cleaning Solution
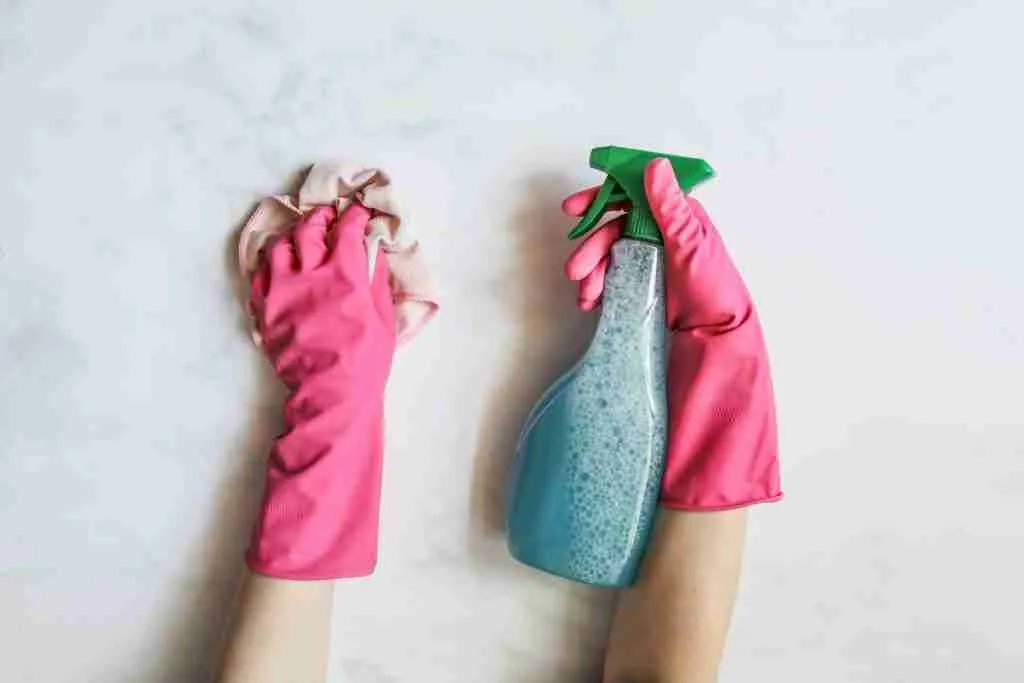
Suit Up in Safety Gear
Before starting the mold removal process, it’s crucial to protect yourself with the appropriate safety gear. Put on your gloves, goggles, and N95 mask or higher to shield your skin, eyes, and lungs from any potential irritants or harmful particles.
Climb and Spray Away
With your safety gear in place, climb your ladder or step stool, positioning yourself beneath the moldy area on the bathroom ceiling. Carefully spray the moldy area with your chosen cleaning solution, making sure to saturate the affected spots thoroughly. A pro tip: spray in short bursts to control the amount of solution applied and prevent dripping.
Patience is a Virtue
After applying the cleaning solution, allow it to sit for 5-10 minutes. This waiting period is essential, as it gives the solution time to penetrate and break down the mold. By letting the solution work its magic, you’re ensuring a more effective mold removal process.
5. Scrub the Mold
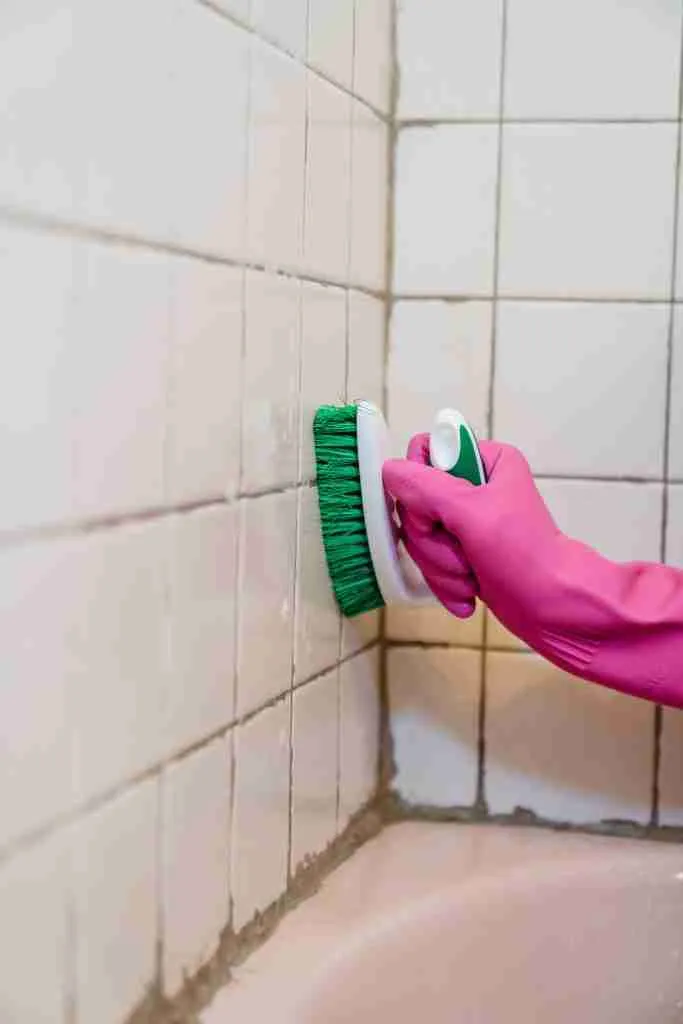
Choose Your Weapon: Stiff Bristle Brush or Sponge
Now that the cleaning solution has had time to work, grab your stiff bristle brush or sponge to start scrubbing away the mold. Use firm, circular motions to remove the mold spots from the bathroom ceiling. Remember to tackle one section at a time, ensuring you’ve addressed every affected area.
Rinse, Repeat, Rejoice
As you scrub, it’s important to frequently rinse your brush or sponge in the bucket or container filled with water. This prevents you from spreading mold spores around the bathroom and keeps your scrubbing tool clean and efficient. Think of it as a reset button for your brush or sponge to maintain maximum mold-fighting power.
Double-Check and Repeat If Necessary
After you’ve scrubbed the entire moldy area, take a step back and assess the situation. If any stubborn mold spots remain, don’t be discouraged—simply repeat steps 4 and 5, applying the cleaning solution and scrubbing again. Sometimes, a little extra persistence is all it takes to banish those pesky mold spots from your bathroom ceiling.
6. Rinse the Area
The Grand Finale: Rinsing with Clean Water
With the mold successfully scrubbed away, it’s time for the grand finale: rinsing the area with clean water. Use a fresh, clean bucket of water or a spray bottle filled with water to gently rinse the ceiling. This step ensures that you remove any remaining cleaning solution or mold residue. Imagine this as the final polish to your bathroom ceiling masterpiece.
Dry, Dry, Dry
Now that your bathroom ceiling is free of mold, it’s important to dry the area thoroughly. Grab a clean towel or rag and carefully dry the ceiling, making sure to reach every nook and cranny. Think of this step as putting the cherry on top of your clean, mold-free bathroom. Properly drying the area will help prevent the mold from making an unwelcome return.
7. Dry and Ventilate the Area
Dry and Ventilate the Area
After manually drying the ceiling, it’s time to call in the reinforcements. Set up a fan or a dehumidifier in the bathroom to help speed up the drying process and circulate the air. The fan is like your bathroom’s superhero sidekick, swooping in to assist in the battle against mold. If you’re using a dehumidifier, it’s like a vigilant guardian keeping humidity levels in check, making it difficult for mold to grow.
Open Windows and Keep the Exhaust Fan Running
To ensure proper ventilation, keep the windows open and the bathroom exhaust fan running for at least 24 hours. Think of this as the grand opening of your bathroom’s “fresh air festival.” By allowing fresh air to flow through the bathroom and maintaining proper air circulation, you’re taking the necessary steps to help prevent the mold from returning. Now you can sit back and enjoy the fresh, mold-free atmosphere in your bathroom!
The Ongoing Vigil: Regular Ventilation and Maintenance
While immediate drying and ventilation measures are crucial, it’s essential to remain vigilant in your mold prevention efforts. Make a habit of regularly opening windows, running the exhaust fan during and after showers, and maintaining a clean and well-ventilated bathroom. This ongoing dedication to bathroom maintenance will help to ensure that mold never dares to darken your doorstep again.
Just like maintaining a thriving garden requires consistent care and attention, keeping your bathroom mold-free is an ongoing endeavor. By cultivating a dry, well-ventilated environment, you’ll be able to enjoy the fruits of your labor—a beautiful, mold-free bathroom that remains a sanctuary for years to come.
So, intrepid mold slayer, through diligent drying, ventilation, and maintenance, you’ll ensure that your realm remains a shining example of cleanliness, free from the sinister clutches of mold.
8. Prevent Future Mold Growth
Be a Mold Detective: Regular Cleaning and Inspection
To keep mold at bay, it’s crucial to adopt a proactive approach. Regularly clean and inspect your bathroom for any signs of mold. Put on your detective hat and search for those sneaky spores trying to make a comeback. By keeping your bathroom clean and catching any mold growth early, you’ll stay one step ahead in the battle against bathroom mold.
The Power of Exhaust Fans: During and After Showers
Harness the power of your bathroom exhaust fan not only during but also after showers or baths. This mighty little machine helps eliminate excess moisture and humidity in the air, making it harder for mold to grow. Think of it as your bathroom’s superhero, swooping in to whisk away moisture and save the day.
A Clean Fan is a Happy Fan: Regular Maintenance
Keep your trusty exhaust fan in tip-top shape by regularly cleaning and maintaining it. Removing dust and debris ensures that it’s running at peak efficiency. It’s like giving your fan a spa day, so it can continue to work hard, keeping your bathroom mold-free.
The Dehumidifier: Your Bathroom’s Secret Weapon
Lastly, consider using a dehumidifier to reduce humidity in the bathroom. This handy device is like your bathroom’s secret weapon, helping to maintain an environment where mold struggles to grow. By keeping humidity levels in check, you’re creating a fortress against mold and protecting your bathroom ceiling.
Apply Anti-Mold Paint for Extra Protection
To further protect your bathroom ceiling and walls from mold growth, consider using anti-mold paint. This specialized paint contains biocides and fungicides that help to deter mold growth and keep your bathroom looking fresh and clean. Before applying anti-mold paint, make sure the surface is properly cleaned, dried, and free from any existing mold. You can find anti-mold paint in various colors and finishes, allowing you to maintain the aesthetic of your bathroom while adding a protective layer against mold. Reapply the paint as needed, following the manufacturer’s recommendations, to ensure continuous protection.
Install Ceiling Cladding for a Low-Maintenance, Mold-Resistant Solution
Another effective way to prevent mold growth on your bathroom ceiling is by installing ceiling cladding. This type of ceiling material is made from PVC panels that are water-resistant, easy to clean, and highly resistant to mold growth. Ceiling cladding can be installed over existing ceilings, offering a low-maintenance and long-lasting solution for your bathroom. The panels are available in various designs, allowing you to find the perfect style to complement your bathroom decor. By investing in ceiling cladding, you’ll be creating a more hygienic bathroom environment while reducing the time and effort spent on mold prevention and maintenance.
CONCLUSION
Armed with the knowledge and tips provided in this guide, you’re now ready to tackle those black spots on your bathroom ceiling and banish mold for good. By preparing the necessary materials and tools, setting up the workspace, creating the perfect cleaning solution, and following the outlined steps, you can remove mold from your bathroom ceiling with confidence. Remember to dry and ventilate the area thoroughly and establish preventative measures to ensure a mold-free and happy bathroom. So, go forth and conquer mold, knowing that you’ve got the power to create a cleaner, healthier living space for yourself and your loved ones.
FAQ: Frequently Asked Questions
Q: How can I tell if the mold on my bathroom ceiling is dangerous?
A: While some mold types can cause health issues, it’s difficult to determine the specific type without professional testing. It’s best to treat all mold as potentially harmful and take proper safety precautions while removing it.
Q: Can I use other cleaning solutions besides bleach or vinegar to remove mold from my bathroom ceiling?
A: Yes, there are commercial mold and mildew removers available that can be effective. However, bleach and vinegar are widely used because they’re both effective and affordable.
Q: How often should I clean my bathroom to prevent mold growth?
A: A thorough cleaning and inspection of your bathroom for mold should be conducted at least once a month. High humidity areas may require more frequent cleaning and inspection.
Q: Can I paint over mold on my bathroom ceiling to get rid of it?
A: Painting over mold is not a recommended solution. The mold will continue to grow beneath the paint, which may lead to further problems. It’s essential to remove the mold before repainting the affected area.
Q: How can I determine if my bathroom exhaust fan is functioning properly?
A: To check the functionality of your exhaust fan, turn it on and hold a tissue or piece of paper near the vent. If the fan is working correctly, the tissue or paper should be drawn toward the vent. Regularly clean and maintain your exhaust fan to ensure it continues to work efficiently.
Q: Do I need to hire a professional to remove mold from my bathroom ceiling?
A: In most cases, you can handle small mold removal tasks yourself, following the steps outlined in this article. However, if the mold infestation is extensive or you suspect that it has spread to other areas (such as behind walls), it’s best to consult a professional mold remediation specialist.
Q: Can I use a hairdryer to speed up the drying process after removing mold from the bathroom ceiling?
A: It’s not recommended to use a hairdryer as it may not provide even drying and can potentially blow mold spores around the room. Instead, use a fan or dehumidifier to ensure proper air circulation and drying.
Q: Is there a specific type of paint that can help prevent mold growth on my bathroom ceiling?
A: Yes, consider using mold-resistant paint when repainting your bathroom ceiling. These paints contain antimicrobial agents that can help inhibit mold growth.
Q: How can I tell if the humidity levels in my bathroom are too high?
A: You can use a hygrometer, an instrument that measures humidity levels, to determine the humidity in your bathroom. Ideal humidity levels are generally between 30-50%. If the humidity is consistently higher, consider using a dehumidifier or taking other measures to reduce moisture in the bathroom.
Q: What can I do if the mold keeps coming back after cleaning?
A: If mold keeps reappearing despite regular cleaning, it may indicate an underlying issue, such as a hidden moisture source or inadequate ventilation. Inspect your bathroom for any water leaks, and ensure your exhaust fan is functioning properly. If you’re unable to identify the cause, consult a professional mold remediation specialist for assistance.
Q: How long does it take for mold to grow on a bathroom ceiling?
A: Mold growth can begin within 24-48 hours in the right conditions, such as high humidity and a food source like ceiling paint or drywall. To prevent mold growth, address any moisture issues promptly and maintain proper ventilation in your bathroom.
Additional Reading
- How to Clean Carpet on Stairs: Discover the best techniques for keeping your stair carpets clean and fresh.
- Disinfect Carpet Without a Steam Cleaner: Learn how to effectively disinfect your carpets without the need for a steam cleaner.
- How Often to Shampoo Carpets: Find out the ideal frequency for shampooing your carpets to maintain their cleanliness and longevity.
- Shaking Washing Machine: Understand the causes of a shaking washing machine and how to fix the issue for smooth laundry days.